机构名称:
¥ 1.0
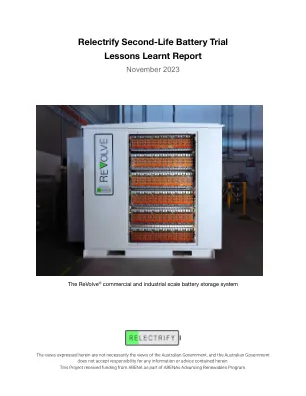
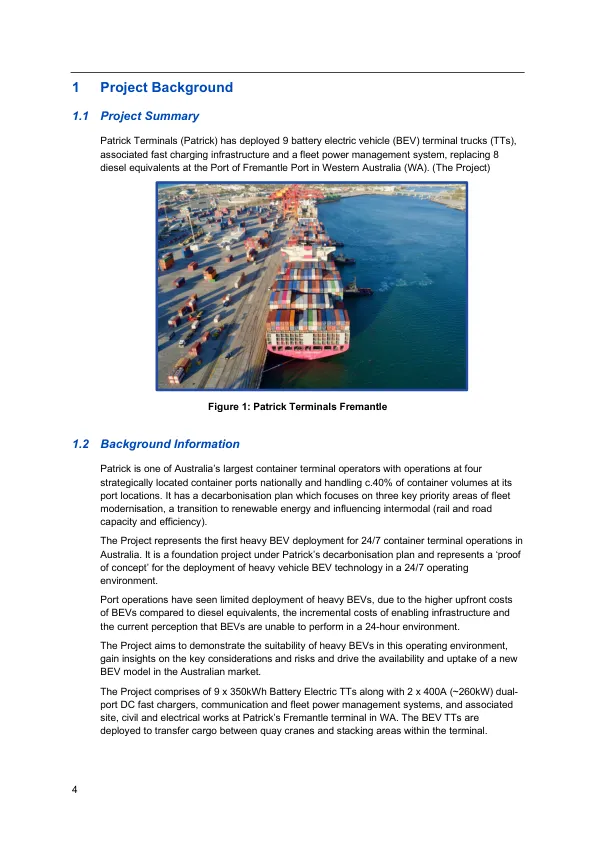
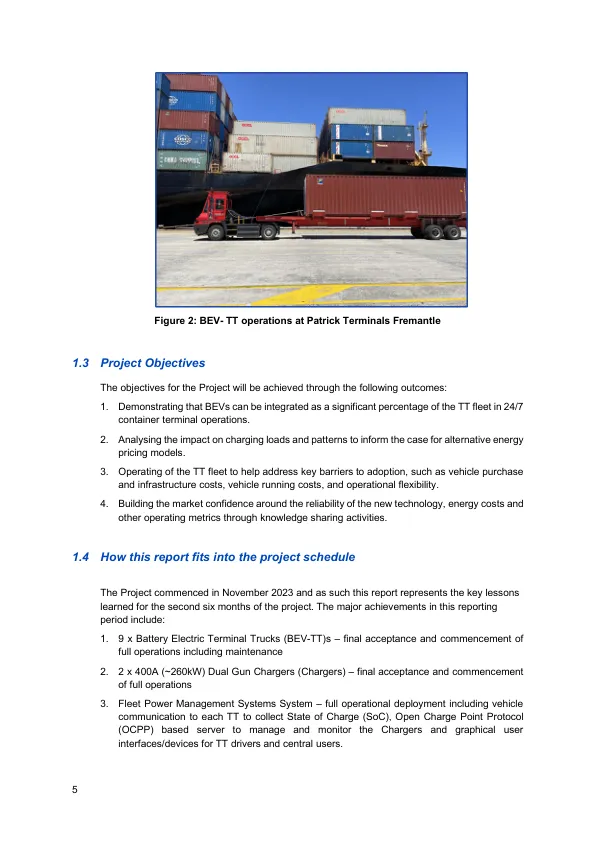
List of Figures Figure 1: Patrick Terminals Fremantle ............................................................................................... 4 Figure 2: BEV- TT operations at Patrick Terminals Fremantle ............................................................ 5 Figure 3: PM115 (BEV-TT) undertaking 400A (~260kW) dual gun charging – image 1 ....................... 6 Figure 4: Charger setup including awnings......................................................................................... 6 Figure 5: PM115 (BEV-TT) undertaking 400A (~260kW) dual gun charging – image 2 ....................... 8 Figure 7: Typical 400A Charging Profile ............................................................................................. 9 Figure 3: BEV-TT delivering export containers to a quay crane ........................................................ 10 Figure 9: Typical BEV-TT Driving Profile .......................................................................................... 11
电池电动终端卡车课程汲取的报告...
主要关键词
相关文件推荐